
How to Fix ‘Failed to Install a Dependency’ on Kodi
>
In this troubleshooting guide, we will learn to fix the ‘Failed to install a dependency’ error message on Kodi 18.5. This message shows up at the time of the installation of an addon when the associated dependencies cannot be installed.
Kodi is one powerful media player that not only plays the local media on your device storage but also streams the online content from around the world. What makes Kodi really amazing are the third-party Kodi addons. These addons fetch the streams of your favorite content from various servers allowing you to play them online. But, addons don’t work in isolation. They rely heavily on the external services called ‘dependencies’.
Nearly all the addons require the dependencies to scrape the internet and fetch the streams. In fact, most of the popular add-ons require multiple dependencies. When you install add-ons such as Exodus Redux, Covenant, Yoda or any other, the required dependencies are also installed (if they aren’t already installed). However, if at least one dependency fails to install, Kodi shows the error, ‘failed to install a dependency.’ When the dependency wouldn’t install, you can’t install the addon either.
Attention KODI Users: Read before you continue
Kodi Addons / builds offer unlimited streaming content, but could also get you into legal trouble if caught streaming free Movies / TV shows / Sports. Kodi users are strongly advised to always connect a VPN while streaming online. A good Kodi VPN hides your identity, bypasses government surveillance, geo-blocked content, and ISP throttling (which also helps in buffer-free streaming).
I use ExpressVPN which is the fastest and most secure VPN. It is very easy to install on any device including Amazon FireStick. You get 3-months free and save 49% on its annual plans. Also, it comes with a 30-day money-back guarantee. If you are not satisfied, you can always ask for a refund.
Click HERE to get 3-months free and save 49% on ExpressVPN
Read: How to install and use a Kodi VPN
Contents
Fix Failed to Install a Dependency on Kodi
I have encountered this error a few times and after having tried and tested various methods, I have come up with some troubleshooting ideas. Even though it is hard to put the finger on what exactly triggers the error, I am confident that one of the following solutions will work for you.
1. Clear the Kodi Cache
Clearing the cache on Kodi sometimes helps you fix the error ‘failed to install a dependency.’ Deleting the cache is a better alternative to clearing the entire data as you do not lose your existing addons and Kodi settings.
The best way to clear the cache is to through the Ares Wizard. If you don’t have Ares Wizard yet, install it first. Ares Wizard installation takes about 4-5 minutes but it is a wonderful tool to have.
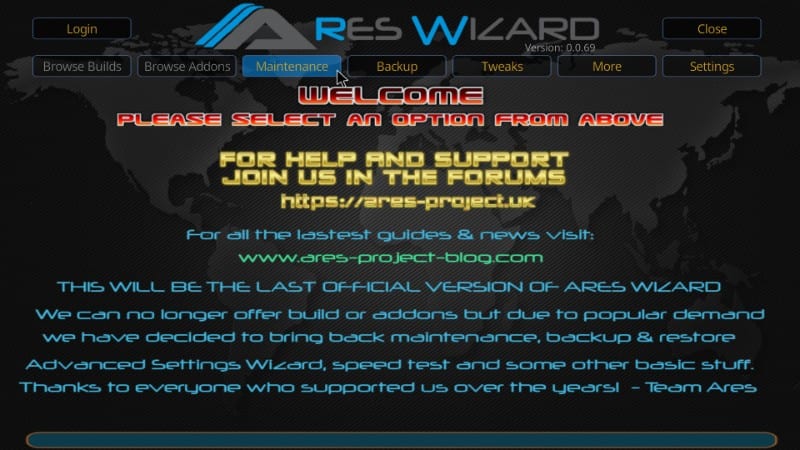
Step 1: Now, go ahead and launch Ares Wizard. You will find it at Kodi Homescreen > Add-ons > Program Add-ons.
Step 2: When the wizard loads up, click the ‘Maintenance’ tab on the top.
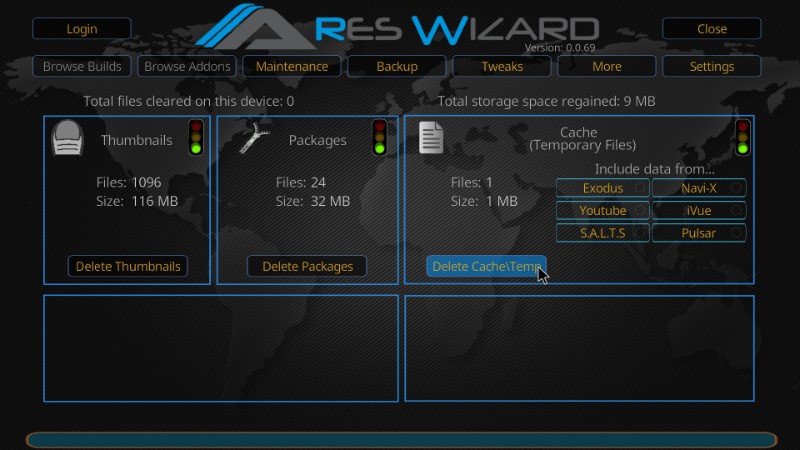
Step 3: Next, click ‘Delete Cache/Temp’ in the Cache section on the right
Step 4: Once the Cache is deleted, you will see the following message. Click ‘OK’ to proceed.
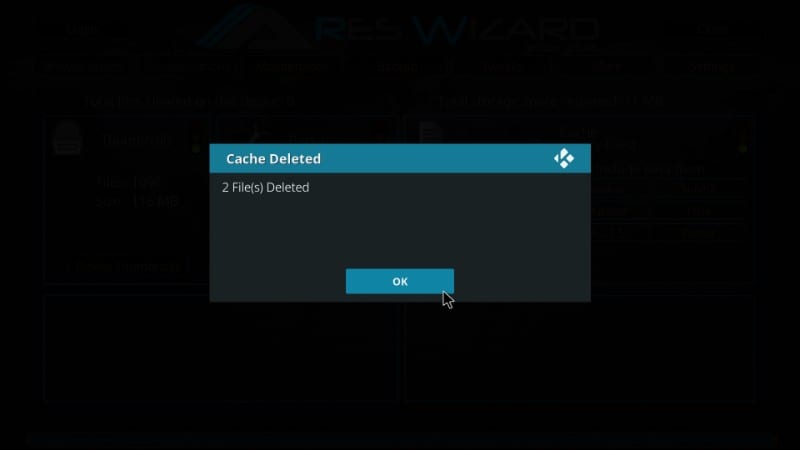
As you can see, the cache size on my system was just 1 MB. That’s because I had recently reinstalled Kodi and I don’t have a lot of addons. The cache size will grow and the larger it becomes, the more problems it may cause. This is the reason why deleting the cache might help you with the ‘Failed to install dependency error.’
2. Clear the Kodi Data
Sometimes, clearing the cache isn’t enough. A lot of times the ‘Failed to install a dependency’ is more stubborn and doesn’t go away by simply removing the cache. The other option is to uninstall Kodi and install it again, fresh. For the most part, it will take care of the problem. However, before you do that, you would want to try clearing the Kodi data instead. Clearing the data will restore Kodi to the factory default and save you some time.
If you received the error message failed to install a dependency on FireStick, you can reset Kodi data on this device from the Settings menu. You could also use Ares Wizard to clear the data on all the Kodi supported devices (including FireStick).
Install Ares Wizard on Kodi and follow the steps below:
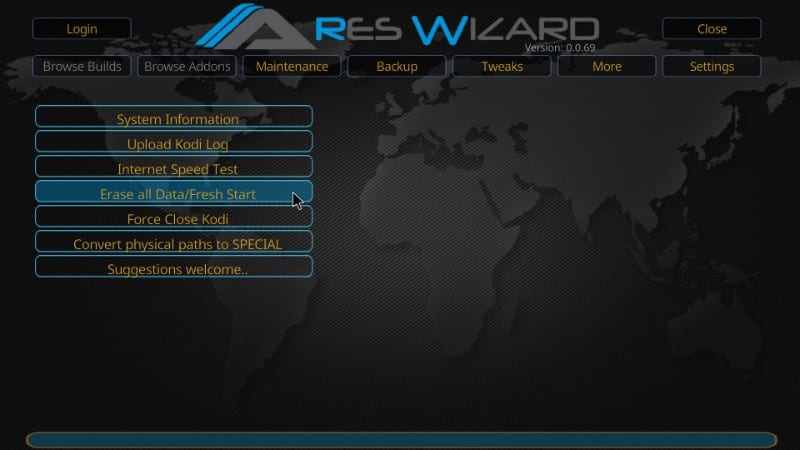
Step 1: Launch Ares Wizard and click ‘More’ tab on the top right (left to Settings)
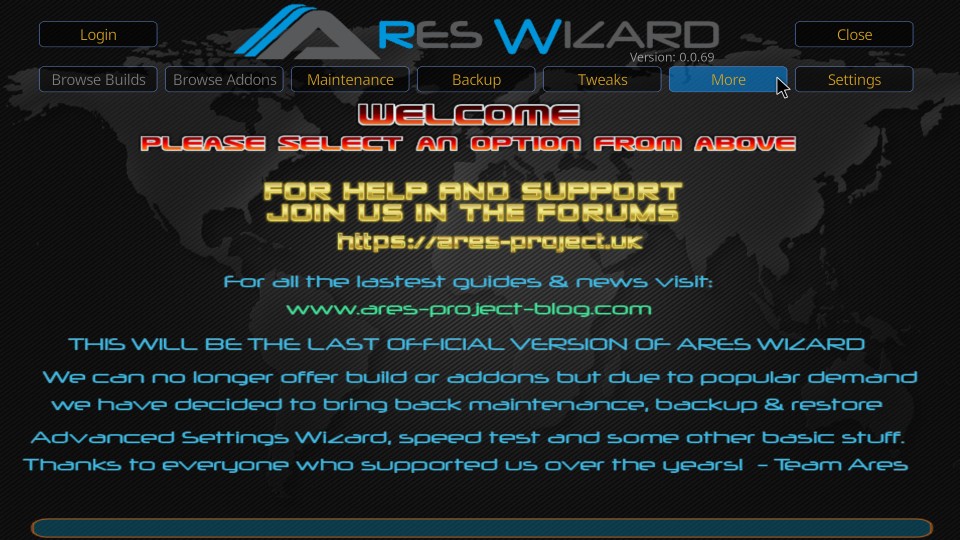
Step 2: Now, click ‘Erase all Data/Fresh Start’ from the set of options on the next screen
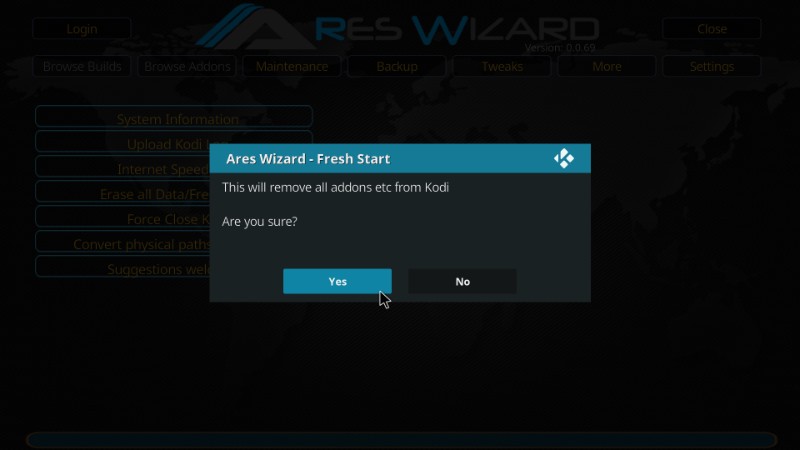
Step 3: Confirm your action by clicking ‘Yes’ when the following prompt appears
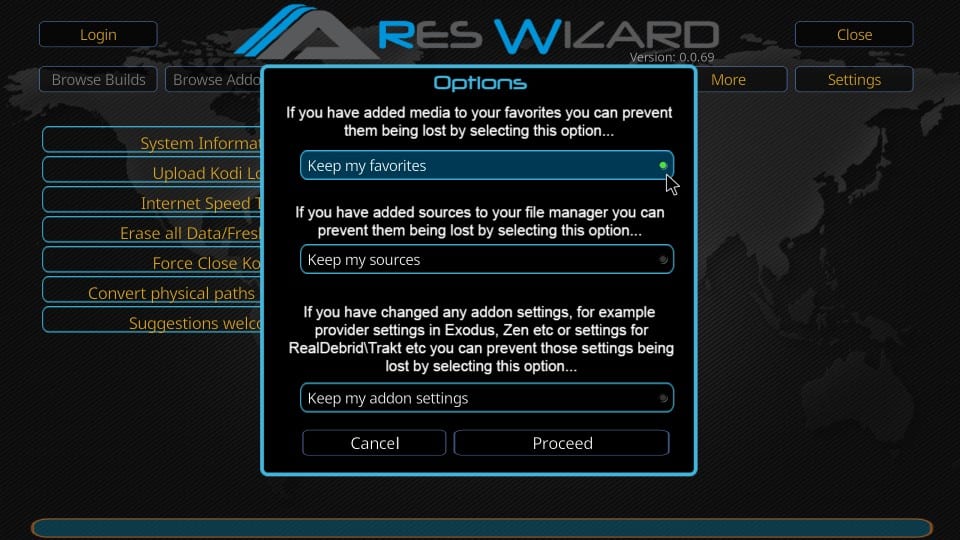
Step 4: Next, choose whether you would like to retain your favorites, sources, and addon settings and click Proceed in order to continue
It may take a minute or two to clear the Kodi data depending upon its size. Once the data is cleared, Kodi will be fresh as new. You will lose all your addons including Ares Wizard.
3. Remove and Reinstate the Kodi Database
Kodi’s database holds a lot of things together in Kodi and when it gets corrupt, you start encountering errors you had never seen before, such as the one in question or say “Kodi installation failed.”
Repairing the Kodi database could magically help you get rid of many such issues almost instantly. The good thing is that the corrupt database does not keep you from using Kodi. You only see some errors. That’s why you can fix this from within Kodi.
Here’s how you can remove and reinstate the Kodi database:
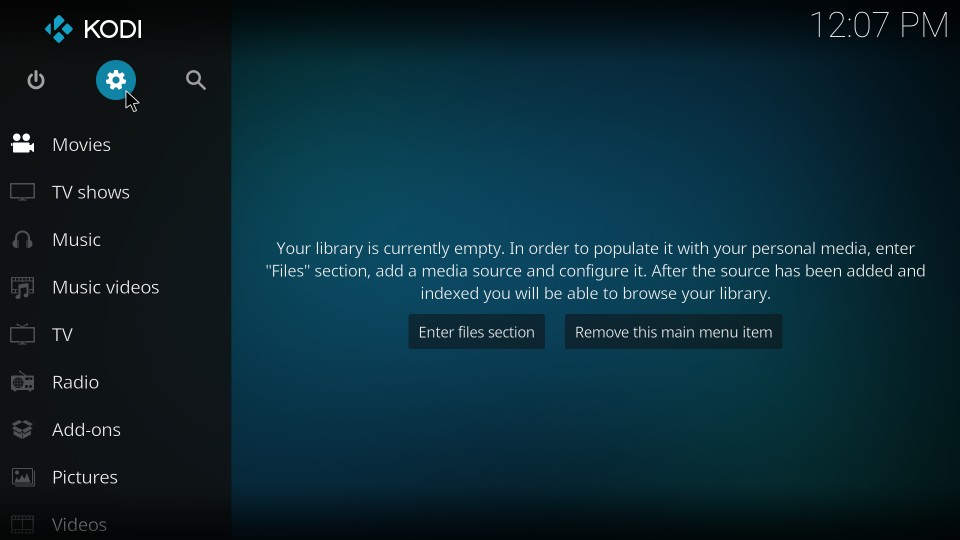
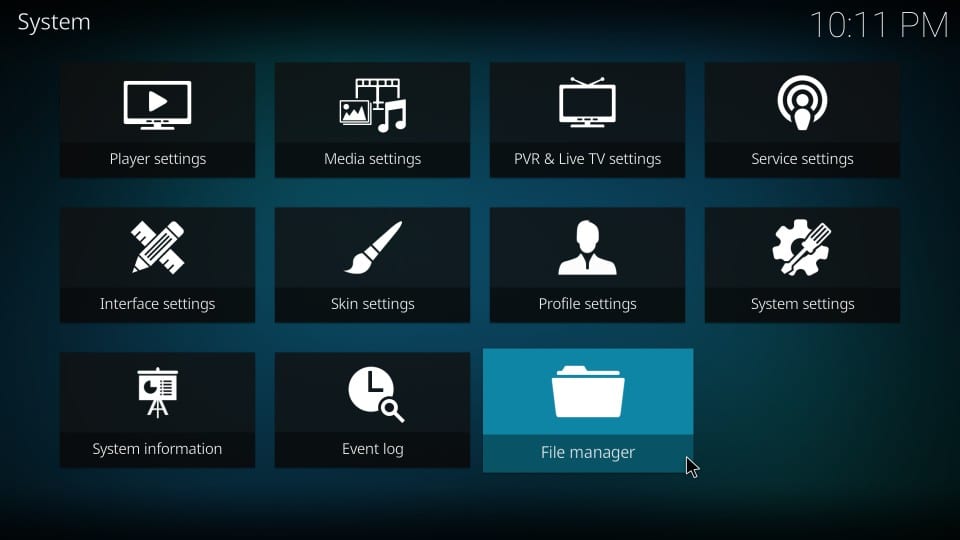
Step 1: Go to Kodi home-screen and click ‘Settings’ (the cog icon) on the top-right
Step 2: Next, click ‘File manager’
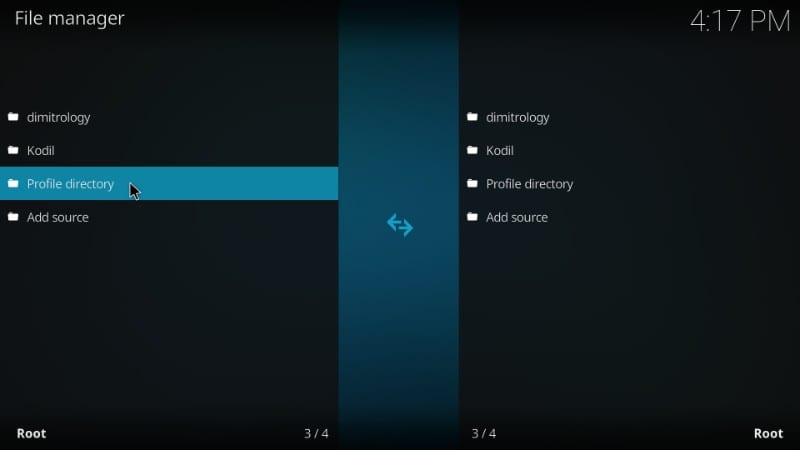
Step 3: Click ‘Profile Directory’ on the next window
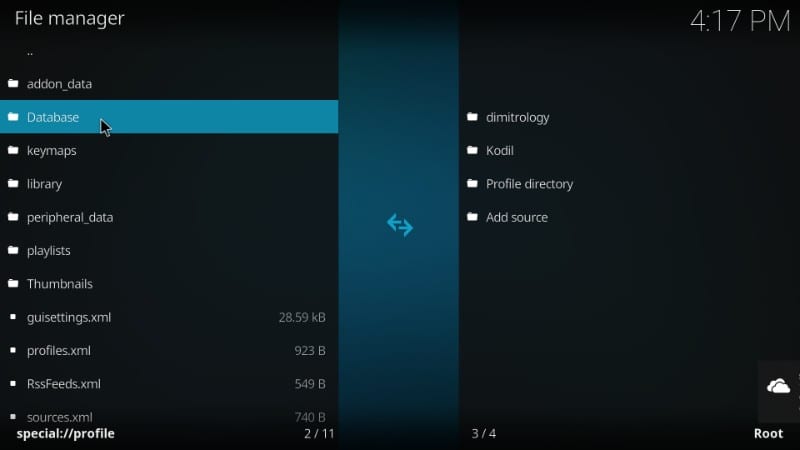
Step 4: Next, click ‘Database’
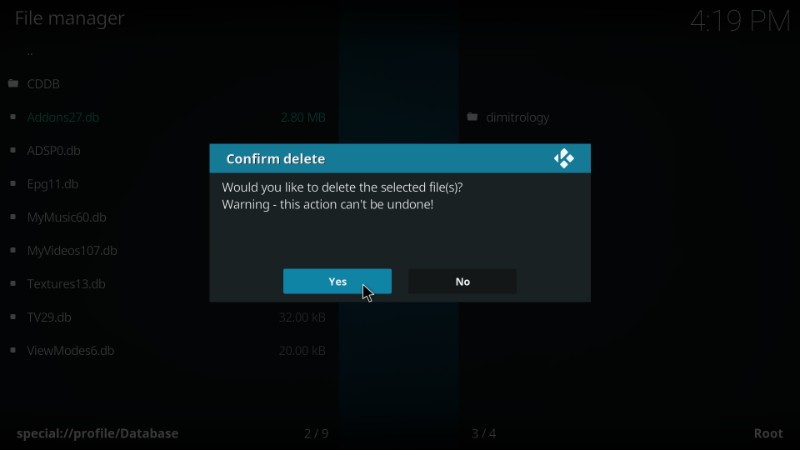
Step 5: Now, select ‘Addons27.db’ and press the appropriate button/key to bring up the contextual pop-up menu (for example, right-click on Windows PC). Click ‘Delete’ on the pop-up
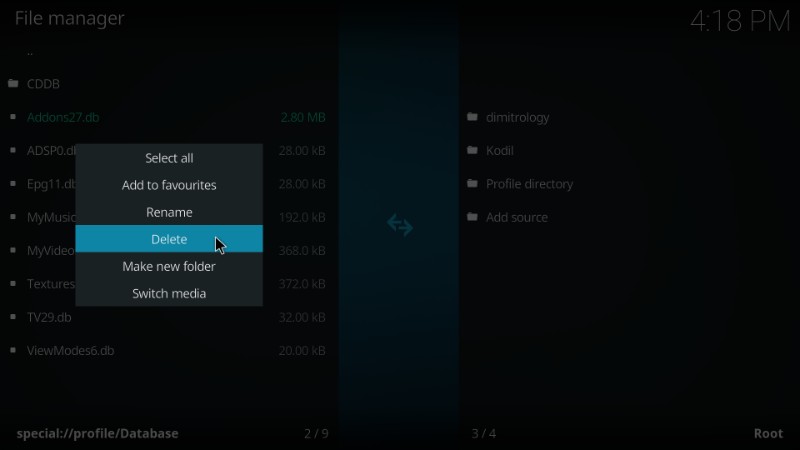
Step 6: Confirm your action by clicking ‘Yes’ when prompted
Step 7: Now, close Kodi and relaunch it after about a minute. Try to reinstall the addon you were trying to install earlier when you ran into the ‘failed to install dependency’ error.
Note: Once you relaunch Kodi after removing the database, go to Add-ons > My add-ons and re-enable your existing addons.
4. Manually Install the Kodi Dependencies
If nothing seems to be working out, it would be a great idea to manually install Kodi dependencies using the TVAddons repository. In fact, it is one of the first things you could try as it tends to fix the problem better than the other solutions.
Here is what you need to do:
Step 1: Open Settings from the Kodi home-screen and click ‘System settings’ on the next window
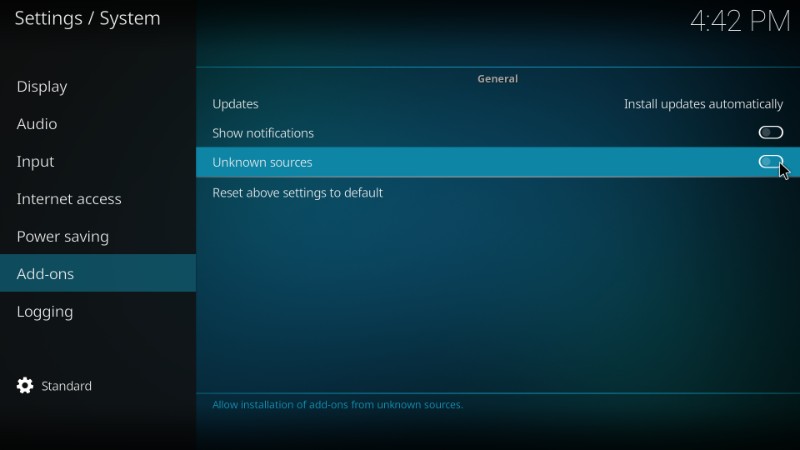
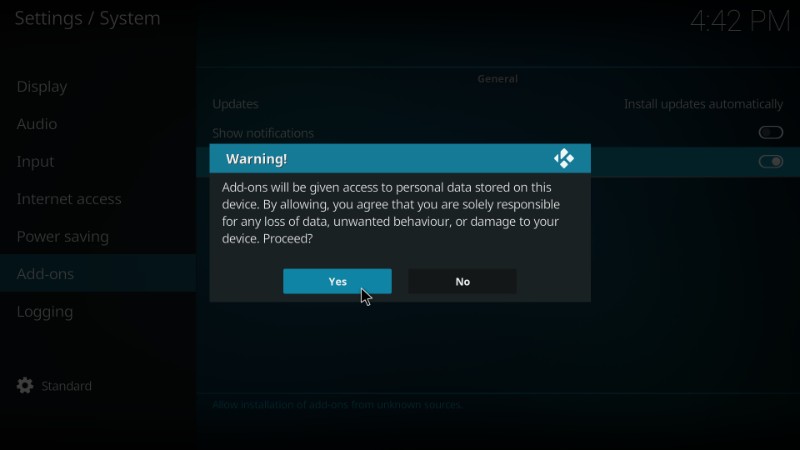
Step 2: On the next screen, select ‘Add-ons’ that you see on the left and on the right enable ‘Unknown Sources’
Step 3: Click ‘Yes’ and confirm your action
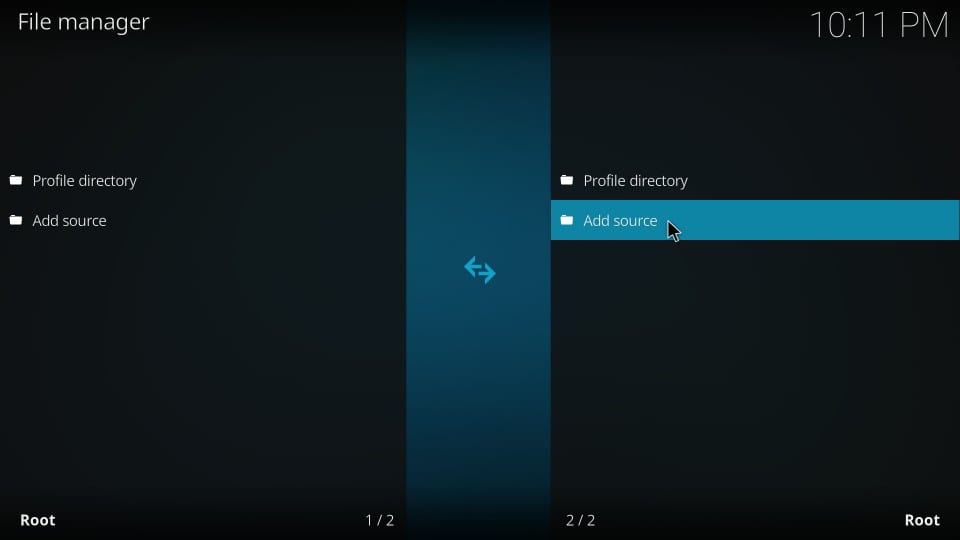
Step 3: Go back to Kodi home-screen and this time navigate to Settings > File manager
Step 4: Click ‘Add source’ on the next window
Step 5: Now, click on

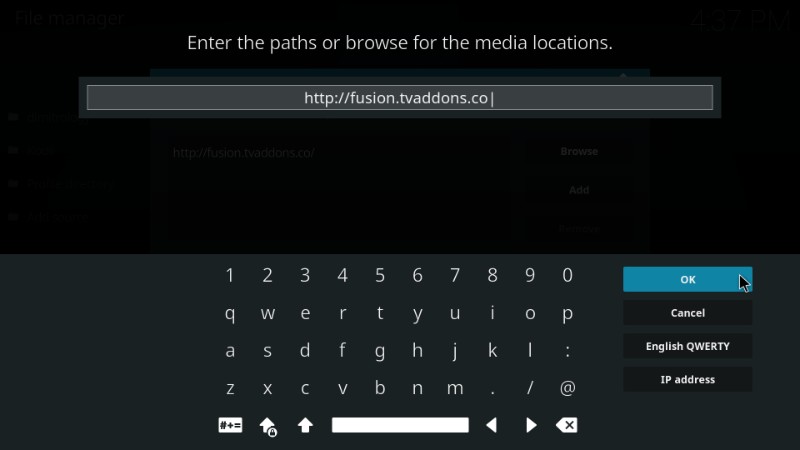
Step 6: Now enter the source URL as http://fusion.tvaddons.co. Type the URL correctly as this is the source from where you will install the repository. Click ‘OK’ to continue
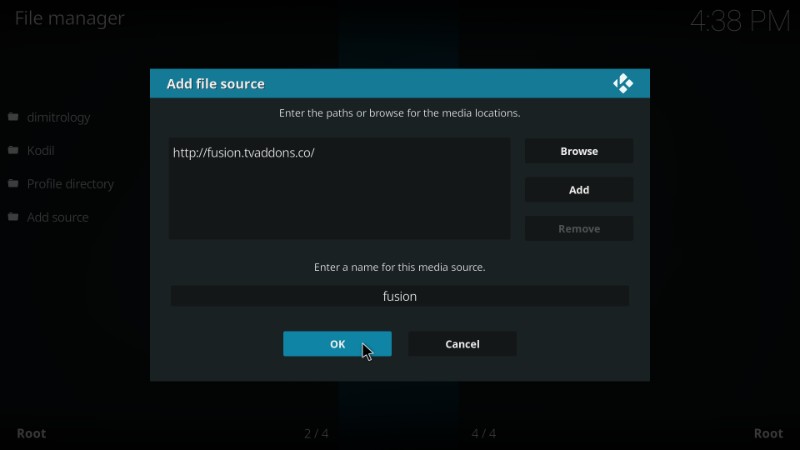
Step 7: Go ahead and type in a name in the ‘Enter a name for this media source’ text field. You may give it any name of your choice. I will name it ‘fusion’ so that I can identify with it easily later. Click ‘OK’ again to proceed.
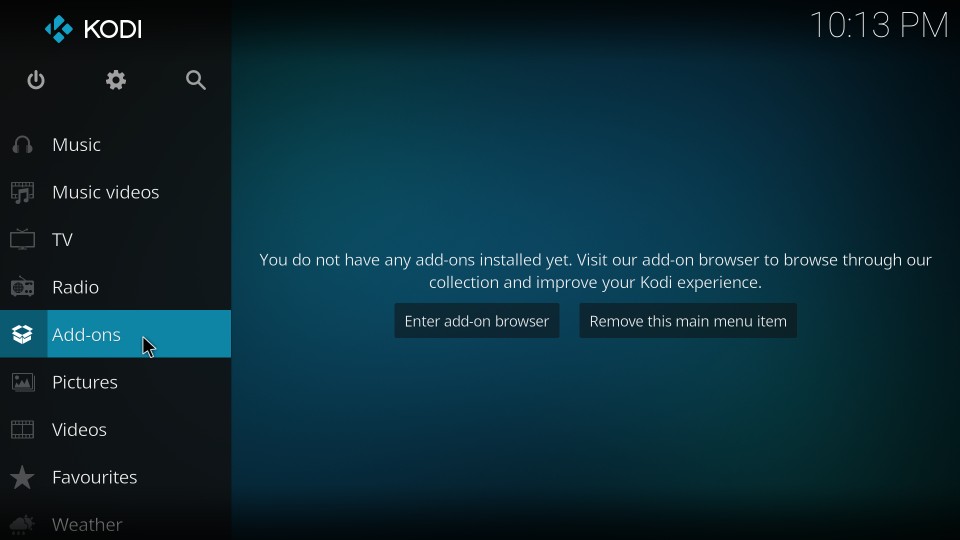
Step 8: Go back to the Kodi home-screen and this time click ‘Add-ons’ on the left
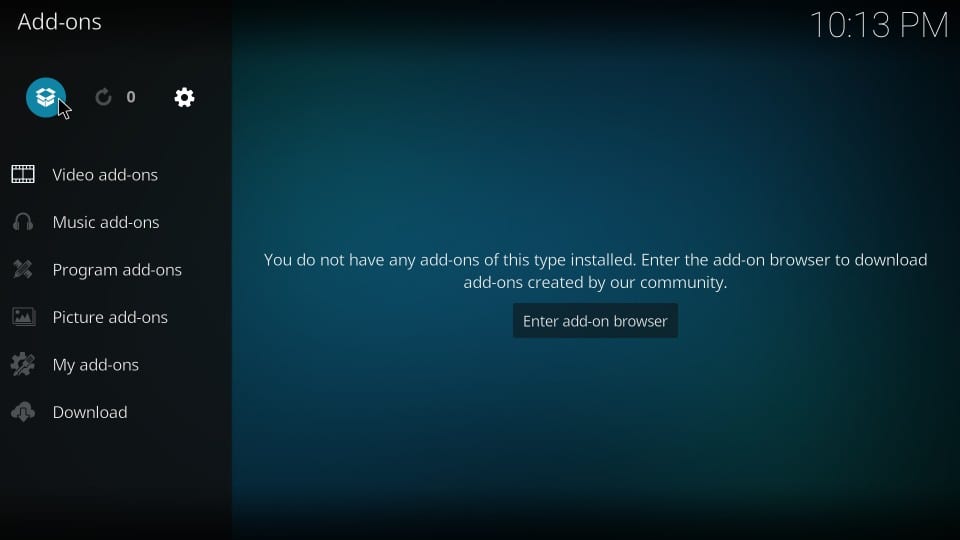
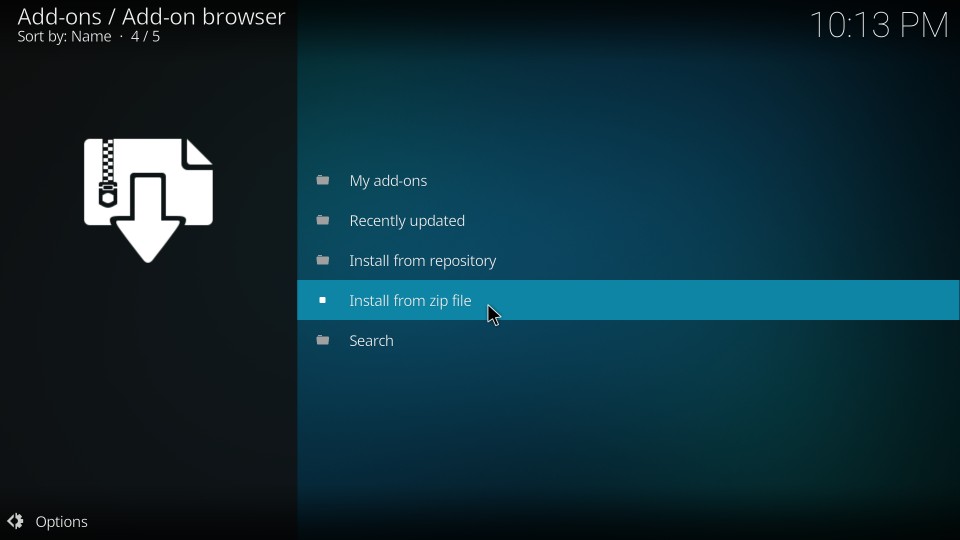
Step 9: Click the open box icon on the top-left of the next screen. This option is also called ‘Package Installer’
Step 10: Click ‘Install from zip file’ next
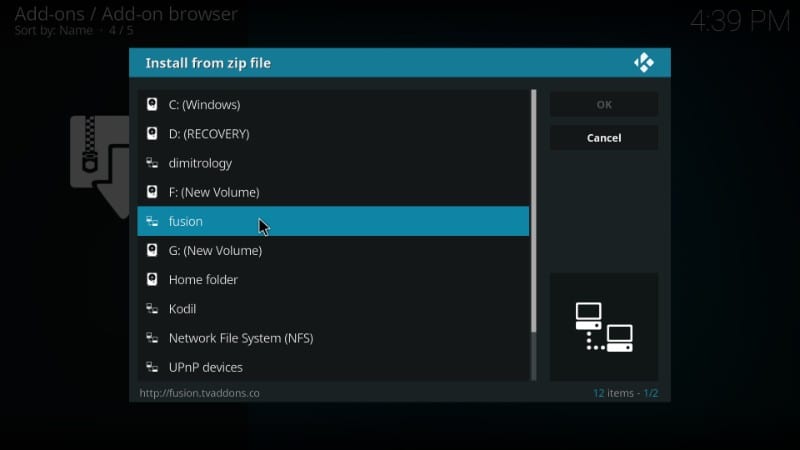
Step 11: Now click ‘fusion’ or the name you gave the source earlier
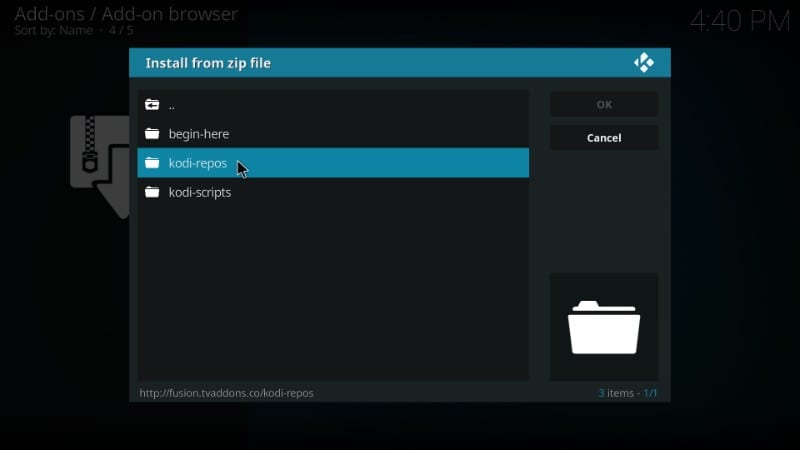
Step 12: Open ‘Kodi-repos’
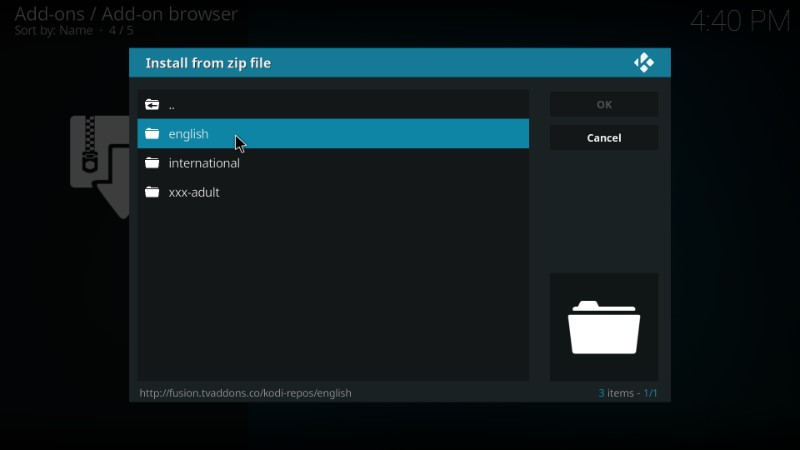
Step 13: Next click ‘english’
Step 14: Scroll down and click ‘repository.xbmchug-3.0.0.zip’ (the version number is subject to change)
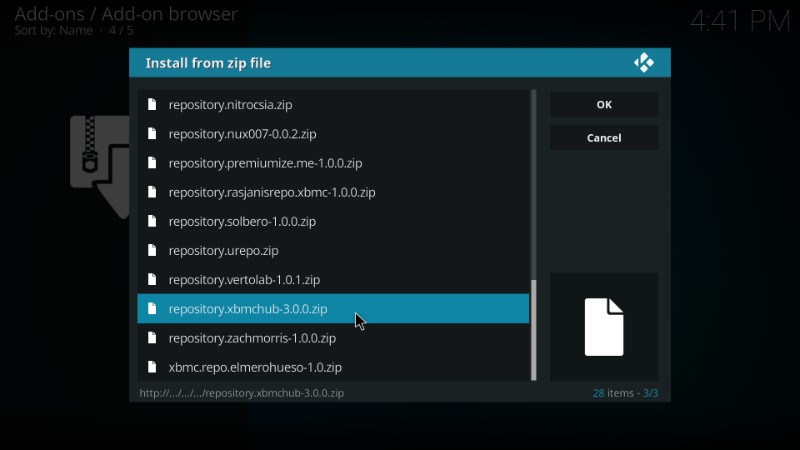
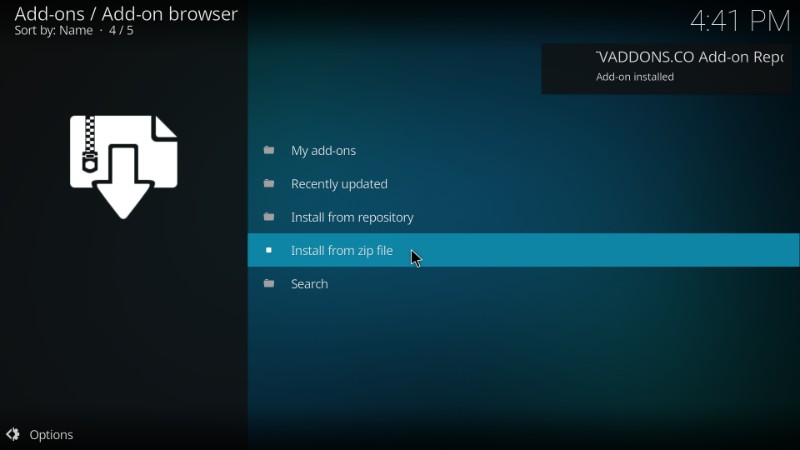
Step 15: Wait for the ‘TV Addons Co repo installed’ notification to appear on the top right of the screen
You may need to install a few more dependencies from the TVAddons repository. So, here are the steps to follow:
Step 1: Go to Kodi home-screen one more time and then navigate to Add-ons > Package Installer > Install from zip file (steps 9-11 above)
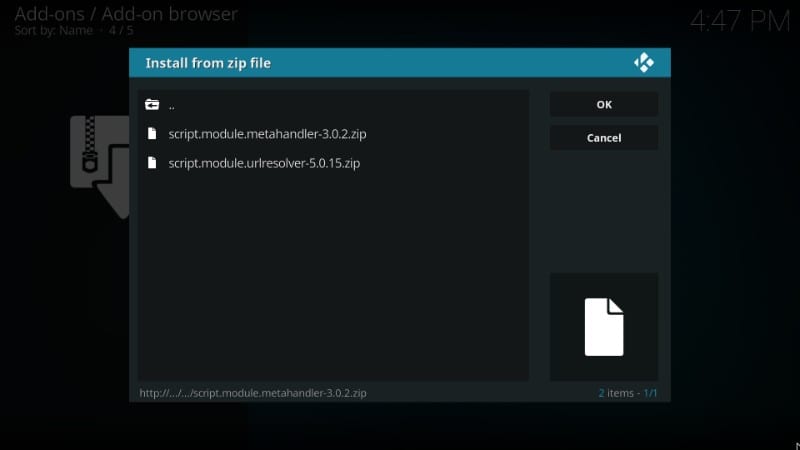
Step 2: Click ‘fusion’ (or the name you chose for the source earlier) and open ‘kodi-scripts’
Step 3: You should see a couple of zip files here. One contains ‘methandler’ in the name and the other contains ‘urlresolver’ (see the image below)
Step 4: Install each script one by one by simply clicking on it
You have installed all the necessary dependencies successfully. Now, try and install the same addon again which was throwing the ‘failed to install dependency’ error message. There is a fair chance it will fix the problem.
Kodi Dependencies Not Met
‘Kodi dependencies not met’ is another common dependency related error and it would be remiss of me to not touch upon it.
This problem often occurs when you are trying to install or use an addon already updated for the newer version of Kodi on an older version of Kodi. For instance, I might see the error while trying to install an addon meant for Kodi 18 on Kodi 17.6.
Plenty of updated addons continue to work with the older versions, but the same could not be said for all of them. Thankfully, this issue is relatively easier to fix. All you need to do is update Kodi to the latest available version.
Please note that Kodi does not support internal update from within the app. Therefore, for the most part, you will require a fresh install. This further means losing the existing data, your settings, and the installed add-ons.
Note: ‘The dependency on version could not be satisfied’ is the error much like ‘Kodi dependencies not met’ and can usually be fixed by updating Kodi to the latest version. But, if the problem persists despite the update, troubleshoot it with one of the other methods I have described above.
Check the Kodi Log File
If nothing works for you, I would recommend you to view the Kodi error log file at last. Kodi log will help you determine what’s exactly causing the problem.
Kodi has a few addons that help you view the log and even upload it online. While viewing the log, search for ‘failed to install dependency’ error message. Even if you are not able to figure out the root cause of the problem, you can share the logfile and the Kodi experts will be able to help you better.
Conclusion
Dependencies are, well, what the addons depend upon to fetch the streams to you on Kodi. From my experience, I can tell you that the occurrences of the error ‘failed to install a dependency’ are not frequent. But, when you do run into it, you will want to have a solution handy. One or the other above troubleshooting methods have worked for me at different times. I see no reason why they shouldn’t fix the issue for you. If you have any questions or suggestions, let me know through the comments section below.
16.04.2023 @ 14:33
fortunadamente, no tengo experiencia en el uso de Kodi, pero este artículo es muy útil para aquellos que tienen problemas con la instalación de dependencias. Es importante tener en cuenta que los complementos de terceros pueden ser ilegales y, por lo tanto, es recomendable utilizar una VPN para proteger su identidad y evitar problemas legales. Las soluciones propuestas para solucionar el error son claras y fáciles de seguir. En general, es un buen artículo para aquellos que utilizan Kodi y tienen problemas con la instalación de complementos.